Dirty Nike sneakers usually don’t look dirty all at once. It starts with a little gray on the midsoles, then the mesh looks tired, then the white parts stop looking white.
If you ignore it long enough, the shoes still work fine, but they stop looking sharp. And that matters more than people admit, especially when a good pair of sneakers is otherwise still in great shape.
The good news is you don’t need a huge setup to fix them. A few smart habits, the right brush, and the right cleaner can make a bigger difference than most people expect. Here’s how I keep old Nike shoes looking cleaner without wrecking the materials.
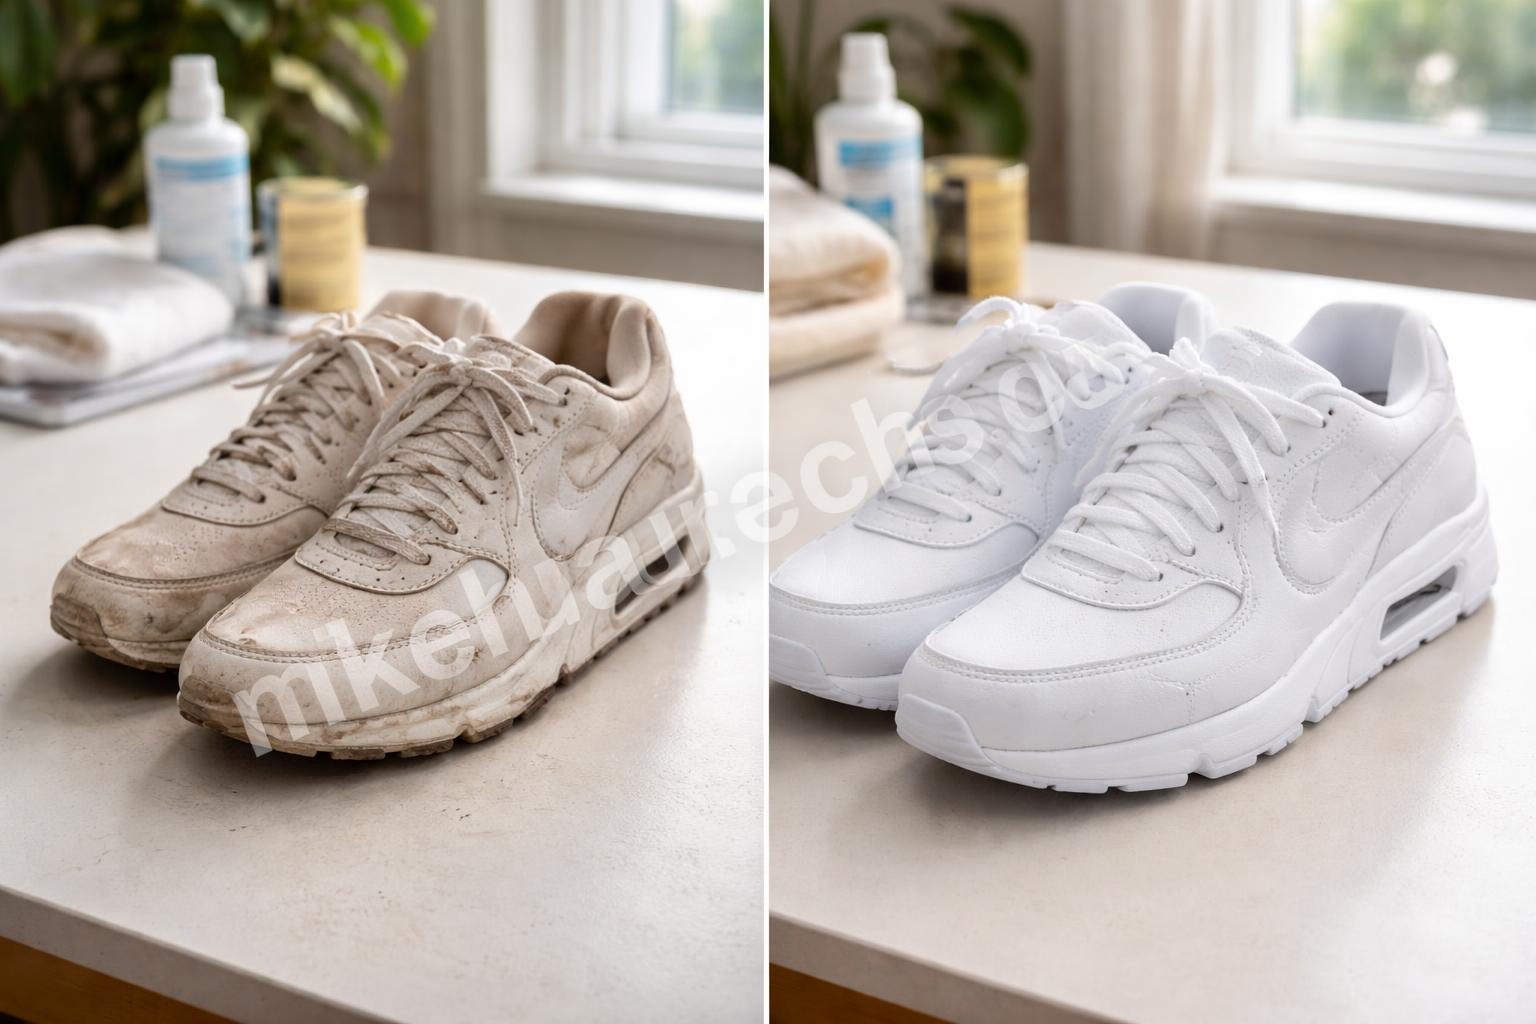
1) Start with a dry brush before you add any water
This sounds boring, but it’s the step most people skip.
Loose dirt turns into mud the second it gets wet, and that mud gets pushed deeper into the fabric or texture. A quick dry brush first removes the grit before it becomes a bigger problem.
I’ve seen people scrub too early and end up making the shoe look worse for the first few minutes. That’s normal. Dry debris is easier to remove than dried-on grime, so don’t rush the water.
Quick tip: Tap the soles together outside first. It knocks off enough dust that the whole job gets easier.
2) Use a soft shoe brush, not the hardest one you can find
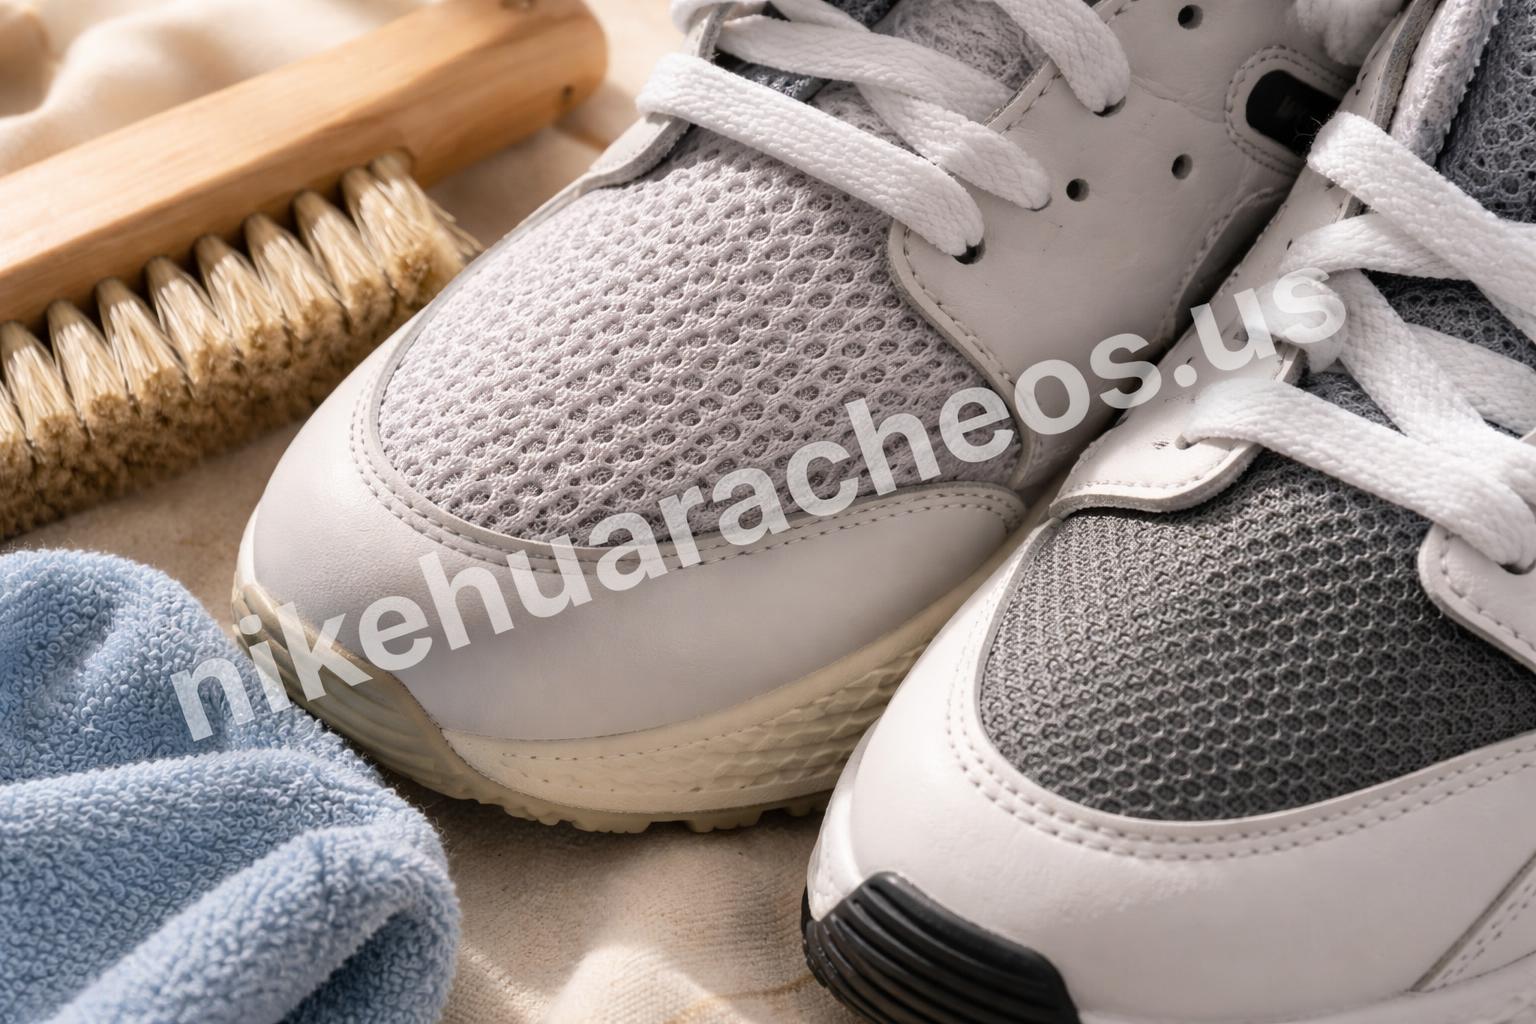
A stiff brush can help on outsoles, but it’s not the best choice for mesh, knit, or suede-like finishes. Too much pressure leaves the upper looking fuzzy or worn.
If you’re shopping for a brush, it’s worth checking out this best Nike shoe cleaning brush under $15 right now. The point isn’t to buy a fancy tool. It’s to find something firm enough for the soles and gentle enough for the upper.
That’s the balance that matters. A cheap brush that works well is usually better than an expensive kit with tools you’ll never use.
One thing I learned: the smaller brush in a kit often ends up being the most useful one. It gets around lace holes, sole edges, and stitched areas better than a big one.
3) Clean the laces separately, or they keep dragging the shoe down
Laces hold onto grime in a way that makes the whole sneaker look old, even when the upper is pretty clean.
Take them out and wash them separately if you can. If they’re very stained, a little soak helps more than endless rubbing. Put them back in only after they’re fully dry, or they’ll start holding onto fresh dirt again fast.
That tiny detail changes the whole look. Clean shoes with dirty laces still read as dirty shoes.
Warning: Don’t dry the laces draped over a hot radiator or heater. They can warp, shrink, or get stiff in a weird way.
4) Wipes are great for fast touch-ups between deep cleans
Sometimes you don’t need a full wash. You just need the toe cap, sidewall, or heel tab to stop looking dull.
That’s where wipes are useful. They’re fast, easy, and good for small marks that would otherwise build up over time. If you want a simple option, this guide to the best cleaning wipes for Nike sneakers on sale today is a handy place to start comparing what’s actually worth keeping around.
I like wipes for travel too. They won’t replace a proper clean, but they can save a pair before a dinner, meeting, or weekend trip.
Best use case: scuffs, dust, and small smears on smooth leather or synthetic panels.
5) Don’t clean the whole shoe the same way
Nike sneakers are often mixed-material shoes. Mesh, leather, rubber, foam, suede-like overlays, and stitching all react differently.
That means one cleaning method across the whole pair is usually where people go wrong. What works on the outsole might be too harsh for the tongue. What helps mesh might not do much on the midsole.
A smarter approach is simple:
- Rubber sole: a firmer brush and more pressure
- Mesh or knit: a softer brush and lighter strokes
- Smooth leather: damp cloth or wipe, then dry immediately
- Foam midsoles: gentle scrub, not soaking
Always match the cleaning method to the material first. That’s the difference between a sneaker that looks refreshed and one that just looks scrubbed.
6) Make a paste only when you actually need it
A lot of people overdo the paste trick.
It can help on white midsoles and stubborn spots, but it’s not something you need for every cleaning session. If the shoes only have light dirt, soap and water may be enough. Paste is better for the small ugly spots that keep showing after a basic clean.
Apply it sparingly, work in circles, and wipe it off fully. Leaving residue behind makes the shoe look chalky, which is its own kind of dirty.
Practical takeaway: use paste like a spot treatment, not a full-body scrub.
7) A cleaning machine can save time, but it isn’t for every pair
If you clean sneakers often, a machine can be tempting. It cuts down the elbow grease and keeps the process consistent.
Still, it’s not magic. Some shoes need more hands-on care, especially if they have delicate overlays, glued parts, or materials that don’t like heavy water exposure. If you’re comparing options, this guide to a best Nike shoe cleaning machine worth buying today can help you think through whether a machine is actually useful for your shoe rotation.
What matters most is how often you’ll use it. For one or two pairs a year, probably not worth it. For someone cleaning sneakers often, it can be a real time saver.
Small surprise: some people expect a machine to fix everything automatically. It usually still needs a little pre-treatment on the worst spots.
8) Treat the midsole like its own job
The midsole is usually where the “old sneaker” look shows up first.
It collects road dust, scuffs, and that gray film that makes even white shoes look tired. Clean it separately, and don’t assume one pass will solve it. Sometimes the midsole needs a second wipe after the shoe dries, because dried residue only becomes obvious later.
This is one of those annoying details that separates okay cleaning from good cleaning. The shoe can look much better after the first round, then still look a little off when it dries. That’s when a second focused pass helps.
Quick tip: check the shoe in daylight after drying. Indoor light hides a lot.
9) Don’t soak the shoe just because it looks really bad
This is where people accidentally make things worse.
A soaked shoe can take forever to dry, and if the inside stays damp too long, it can start smelling off. It can also change the shape a bit, especially on lighter trainers or shoes with more foam.
Use as little water as you can get away with. Work in small sections. Wipe, scrub lightly, then blot dry. It’s slower than dumping water on the shoe, but it protects the pair.
I’ve seen plenty of sneakers look worse for a day or two after an over-wet clean. They often recover, but the stress wasn’t necessary.
10) Stuff the shoes before they dry
This is one of the simplest tricks and still one of the best.
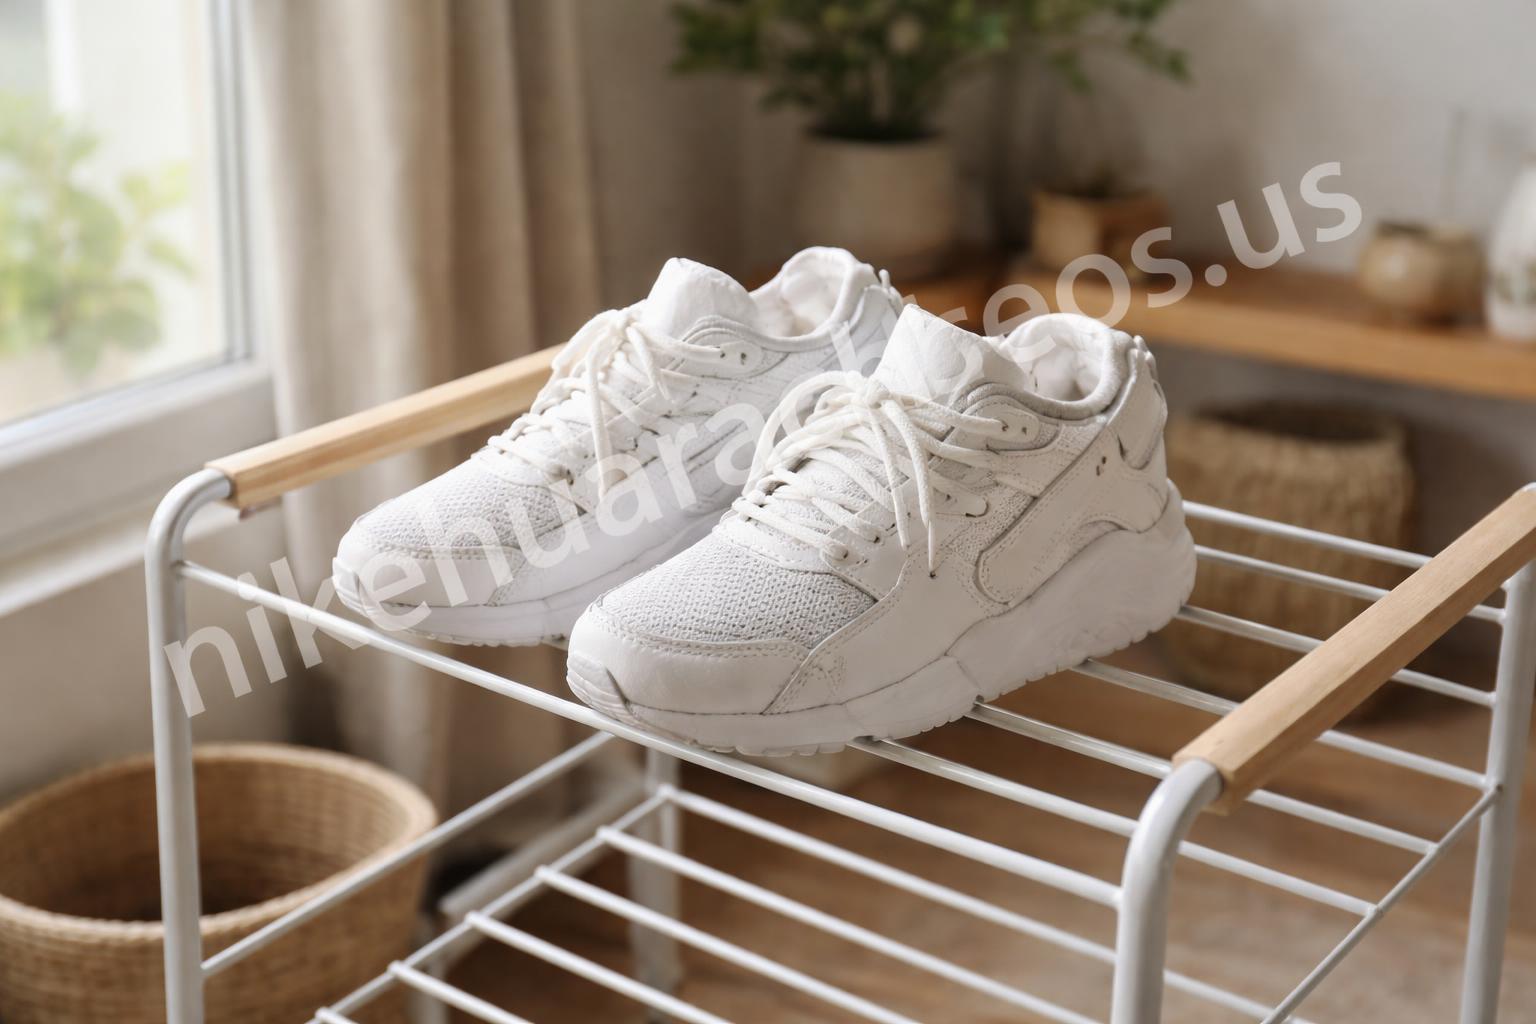
Paper towels or clean dry cloths help the shoe hold its shape while drying. They also pull some moisture out from inside, which speeds things up a bit. Change them once if they get damp.
Don’t jam the shoe full of anything that stretches the upper too much. You just want support, not pressure. Shoes dry more evenly when they’re held in a natural shape.
Good habit: let them dry in a cool, airy spot instead of direct heat. Heat can make glue weaker and materials stiffer.
11) Make a quick maintenance habit instead of waiting for disaster
The easiest way to keep Nikes looking new is not doing one heroic cleaning session every few months.
It’s cleaning small messes before they become permanent. Wipe the shoe down after a muddy day. Brush off the sole before dirt gets packed in. Let the laces and insoles air out. That kind of habit adds up fast.
Honestly, this is where most shoe care breaks down. People wait until the pair looks rough, then try to rescue everything at once. That works sometimes, but it takes longer and usually feels like a chore.
A better pattern is:
- Brush off loose dirt after wear
- Wipe small marks the same day
- Deep clean when the midsoles start dulling
- Dry fully before wearing again
That rhythm keeps the shoes looking newer for longer.
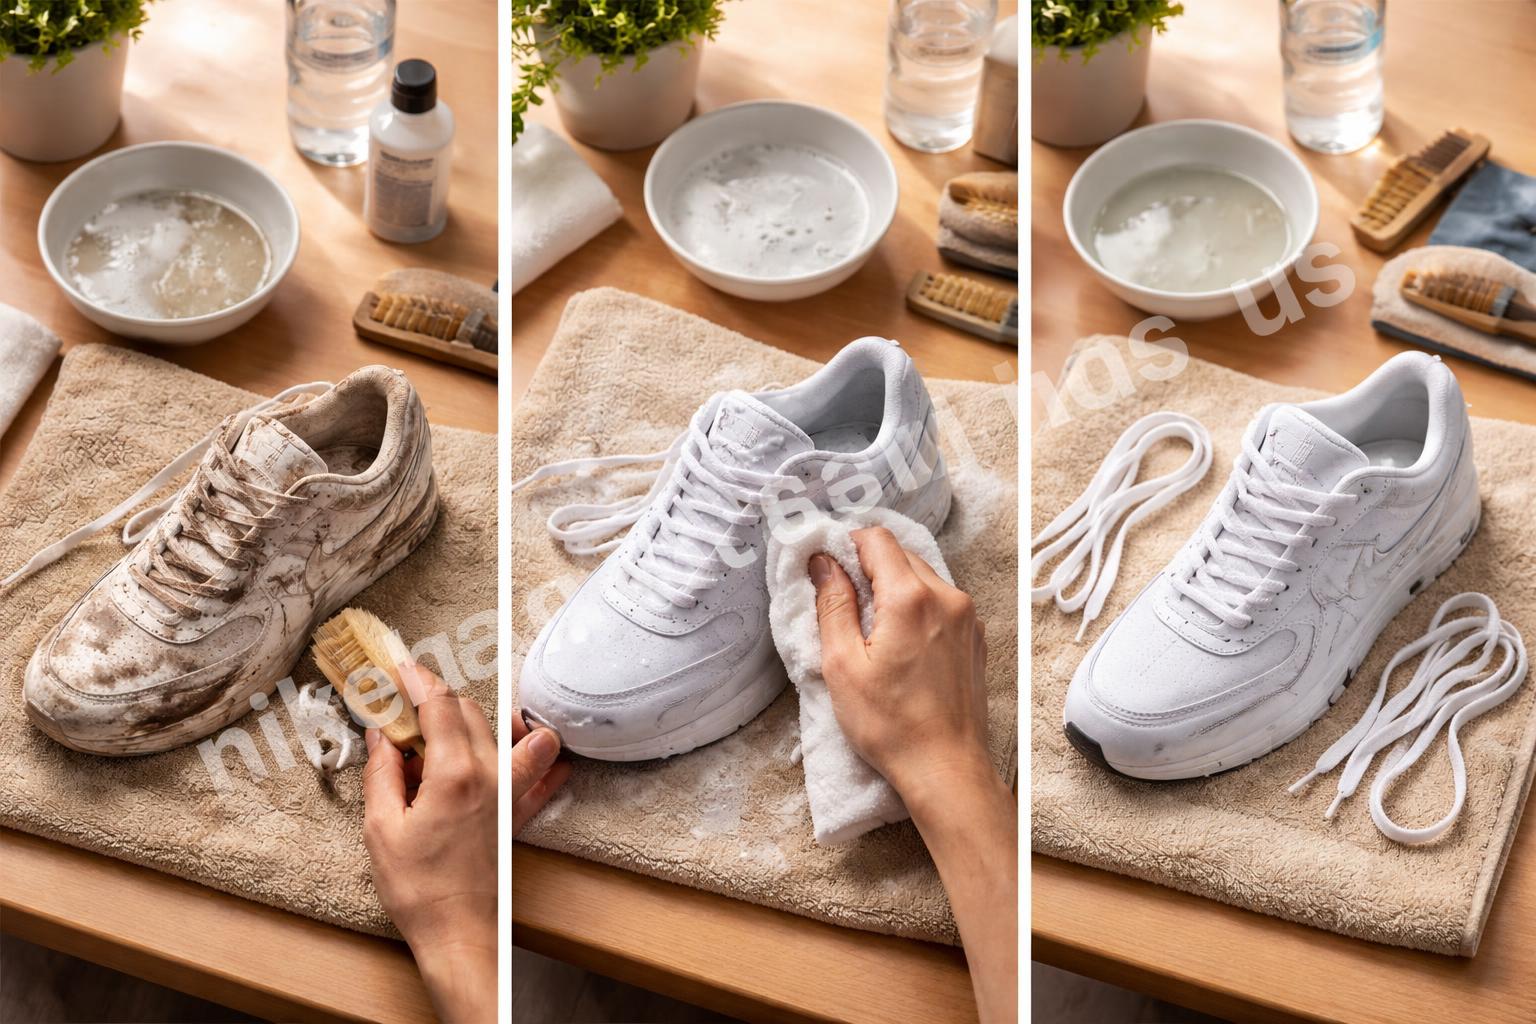
A few mistakes that are easy to make
Some cleaning mistakes are small, but they still matter.
- Using the same dirty cloth over and over
- Scrubbing too hard on knit or mesh
- Skipping the laces
- Leaving soap residue behind
- Drying shoes in direct heat
- Cleaning one shoe much more aggressively than the other
The biggest one is residue. If you don’t wipe cleaning product off properly, the shoe can look streaky after it dries.
What usually works best, in real life
If you want the short version, here’s what tends to work best for most Nike sneakers:
- Dry brush first
- Use a gentle cleaner
- Spot-clean with wipes for quick fixes
- Treat the sole separately
- Dry the shoes slowly
- Keep up with small maintenance
That mix is usually enough for everyday wear. You don’t need a perfect system. You just need one that you’ll actually use.
For me, the biggest shift was learning that less scrubbing often means better results. It feels backwards at first, but it’s true more often than not.
When a full deep clean makes sense
A deep clean is worth it when the shoes have more than surface dirt.
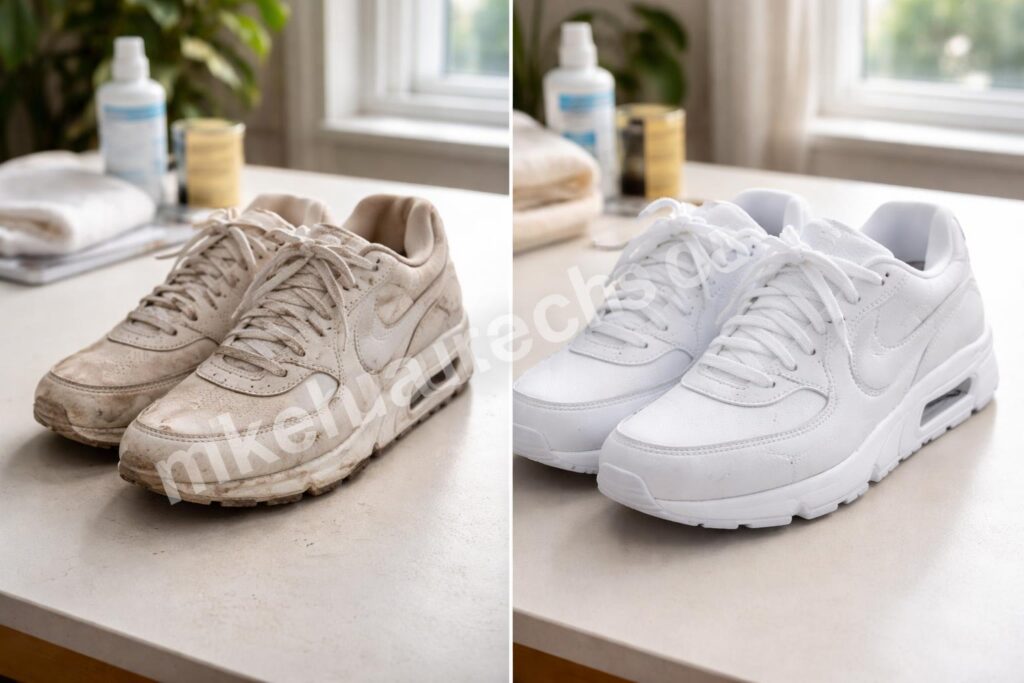
That includes stained midsoles, dull uppers, grimy laces, or any pair that’s been sitting in a closet with dust on it for a while. It’s also worth doing before storing a favorite pair for a season.
If the shoes are still structurally fine, a careful clean can buy them a lot more life. That’s the part people like most. You don’t always need new sneakers. Sometimes you just need the old pair to look cared for again.
Useful rule: if you can’t fix the look with a quick wipe and brush, it’s time for a deeper clean.
Final thought
Nike sneakers age in a way that’s annoying but fixable. Most of the time, they don’t need a miracle. They need a little attention before the dirt settles in.
The best habit I’ve seen is simple: clean a little sooner than feels necessary. That’s usually the difference between a pair that looks worn out and one that still looks worth wearing.
Save This Guide on Pinterest
Save this image to Pinterest so you can easily return to this guide later.